The Rival Ice Cream Maker simplifies crafting delicious homemade ice cream with its user-friendly design and efficient churning process. Perfect for both novices and enthusiasts, it ensures creamy textures and custom flavors with minimal effort. Pre-freezing the canister and following the step-by-step guide ensures optimal results. A popular choice for its simplicity and effectiveness in creating tasty treats.
1.1 Overview of the Rival Ice Cream Maker
The Rival Ice Cream Maker is a versatile and efficient kitchen appliance designed for crafting homemade ice cream with ease. It features a durable construction and a user-friendly interface, making it ideal for both beginners and experienced users. The device typically includes a pre-freezable canister and a churner to ensure smooth, creamy results. Its compact design saves counter space while delivering professional-quality ice cream. With simple operation and clear instructions, it allows users to create customizable flavors and textures effortlessly. Perfect for families, dessert enthusiasts, and those who enjoy experimenting with unique recipes, the Rival Ice Cream Maker is a practical addition to any home kitchen.
1.2 Key Features of the Rival Ice Cream Maker
The Rival Ice Cream Maker boasts a 2-quart capacity, allowing users to create generous batches of homemade ice cream. Its pre-freezable canister ensures optimal chilling, while the dasher effectively mixes ingredients for a smooth, creamy texture. Designed for ease of use, it features a simple, intuitive interface and comes with a comprehensive instruction manual. The device is built with durable materials, ensuring long-lasting performance. Safety features, such as automatic shut-off, enhance user protection. Customization options are endless, enabling users to craft unique flavors and mix-ins. With its compact design and efficient operation, the Rival Ice Cream Maker is a practical and versatile addition to any kitchen, perfect for ice cream enthusiasts of all skill levels.
1.3 Importance of Following Instructions
Adhering to the instructions provided with the Rival Ice Cream Maker is crucial for achieving optimal results and ensuring safety. Proper preparation, such as pre-freezing the canister and correctly measuring ingredients, guarantees smooth operation and desired texture. Failure to follow guidelines may result in subpar ice cream quality or machine malfunction. Additionally, electrical safety precautions, like avoiding water exposure, are vital to prevent hazards. The manual also outlines warranty terms, noting that unauthorized repairs or adjustments can void coverage. By following the step-by-step guide, users can enjoy consistent, delicious homemade ice cream while maintaining the longevity of their appliance and ensuring a safe cooking experience.

Preparation and Setup
The preparation and setup process for the Rival Ice Cream Maker involves unboxing, initial setup, pre-freezing the canister, and mixing the batter. These steps ensure smooth operation and high-quality results.
2.1 Unboxing and Initial Setup
When you unbox your Rival Ice Cream Maker, ensure all components, including the canister, lid, dasher, and instruction manual, are included. Wash and dry the canister and accessories thoroughly before first use. Pre-freezing the canister is essential—place it in the freezer for at least 24 hours to ensure proper chilling. Read the manual carefully to understand the machine’s operation and safety guidelines. Familiarize yourself with the parts and their functions to avoid mistakes during setup. Proper initial preparation ensures smooth operation and optimal results when making ice cream. Always follow the manufacturer’s instructions for a safe and successful experience.
2.2 Pre-Freezing the Canister
Pre-freezing the canister is a critical step before using the Rival Ice Cream Maker. Place the canister in the freezer for at least 24 hours to ensure it reaches the necessary temperature for proper churning. Avoid opening the freezer during this time, as it could disrupt the cooling process. The canister must be completely frozen to produce the best results. Once frozen, remove it from the freezer and proceed with adding your chilled ice cream batter. Proper pre-freezing ensures a smooth and even churning process, leading to a creamier texture and better overall ice cream quality. Always follow the manufacturer’s guidelines for pre-freezing to achieve optimal performance.
2.3 Mixing the Ice Cream Batter
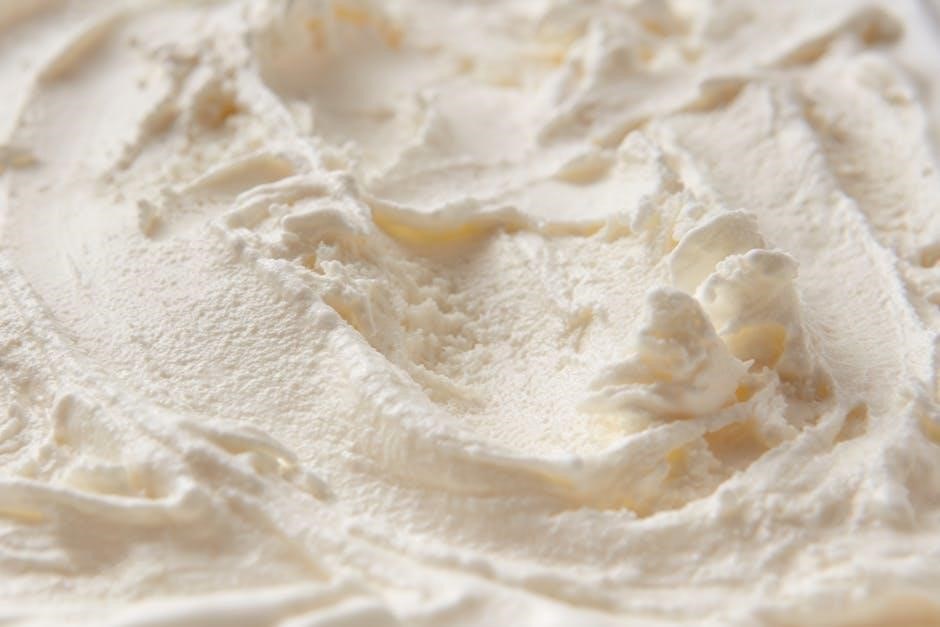
Creating the perfect ice cream batter involves combining your ingredients smoothly and chilling them properly. Start by gathering your base ingredients, typically heavy cream, whole milk, sugar, and any desired flavorings such as vanilla extract. In a large mixing bowl, whisk the sugar into the cream until fully dissolved to prevent ice crystals from forming during churning. Add any flavorings or mix-ins, such as cocoa powder for chocolate ice cream or fruit purees, and mix until well combined. Cover the bowl with plastic wrap and refrigerate the batter for at least 2 hours or overnight to allow the flavors to meld and the mixture to chill thoroughly. This step is crucial for achieving a smooth and creamy texture in your final ice cream. Once the batter is chilled, it’s ready to pour into your pre-frozen ice cream maker canister and begin the churning process.
Using the Rival Ice Cream Maker
Pour the chilled ice cream mixture into the pre-frozen canister, insert the dasher, and start the machine. Monitor the churning process to ensure smooth, even freezing and a creamy texture.
3.1 Pouring the Batter into the Canister
Begin by pouring the chilled ice cream batter into the pre-frozen canister, ensuring it is filled to approximately 3/4 of its capacity. Avoid overfilling, as this can lead to spills during churning. Gently pour the mixture in a steady stream to maintain an even consistency. Once the batter is inside, insert the dasher securely, making sure it is properly aligned to ensure smooth operation. Close the lid tightly to prevent air exposure, which can affect the texture of the ice cream. Properly positioning the dasher and sealing the canister are critical for achieving a creamy and evenly churned final product.
3.2 Operating the Machine
Once the batter is in the canister and the dasher is properly inserted, plug in the machine and turn it on. The machine will begin churning the mixture, incorporating air and breaking down ice crystals for a smooth texture. Allow the machine to run uninterrupted for about 20-30 minutes, or until the ice cream reaches your desired consistency. Keep children away and avoid leaving the machine unattended during operation. Ensure the machine is placed on a stable, flat surface to prevent vibration or movement. Proper operation ensures even churning and optimal results. Always follow safety guidelines and manufacturer instructions for best performance.
3.3 Monitoring the Churning Process
During operation, monitor the churning process to ensure the ice cream develops the desired consistency. The machine will churn the mixture, gradually thickening it into a creamy texture. Typically, the process takes 20-30 minutes, depending on the mixture’s volume and temperature. Avoid over-churning, as it can lead to overly dense or icy results. Stop the machine periodically to scrape down the sides of the canister if needed. Once the ice cream reaches your preferred consistency, turn off the machine and transfer the ice cream to an airtight container for further hardening in the freezer. Proper monitoring ensures a smooth and even texture.
Recipes and Customizations
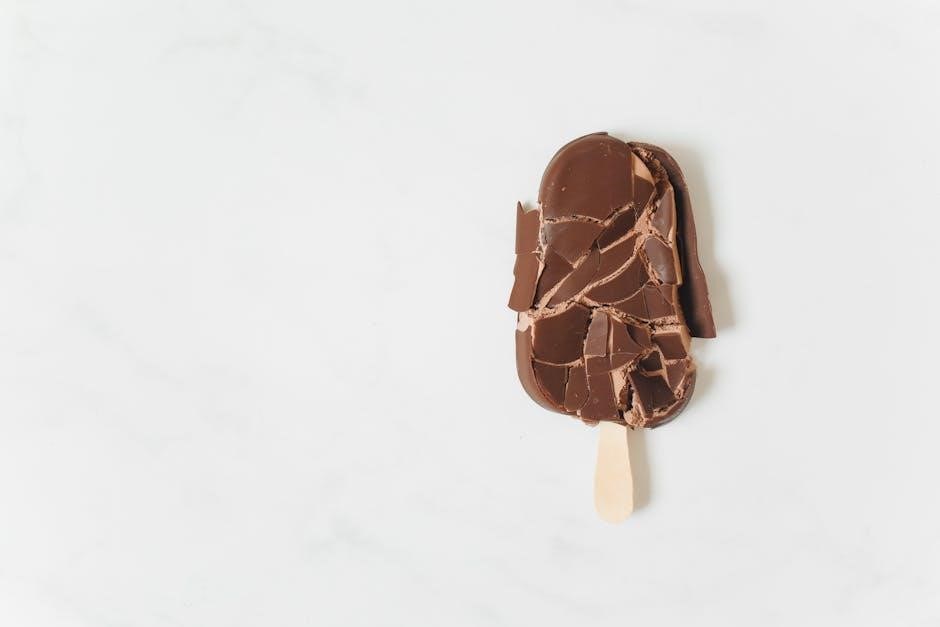
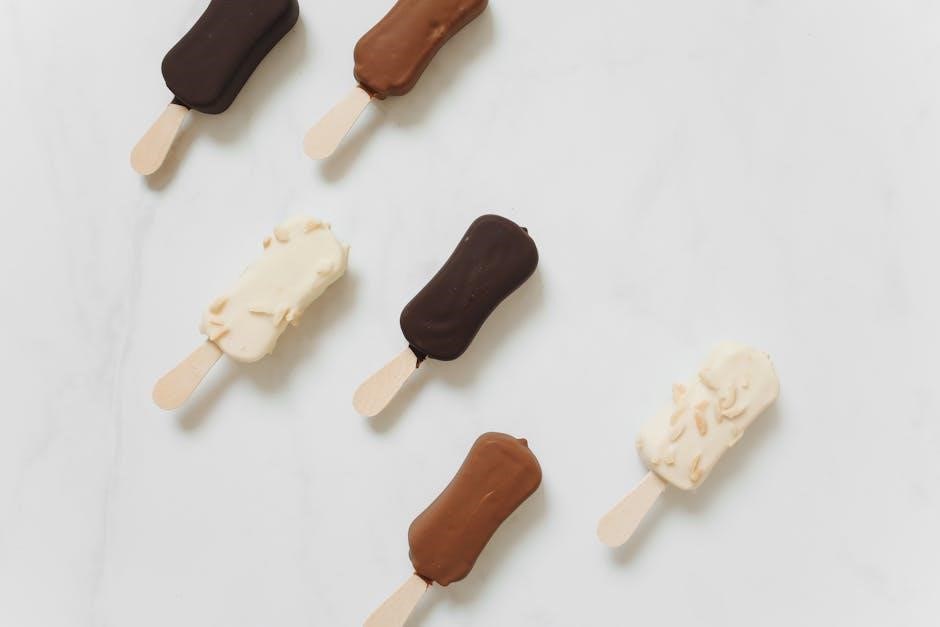
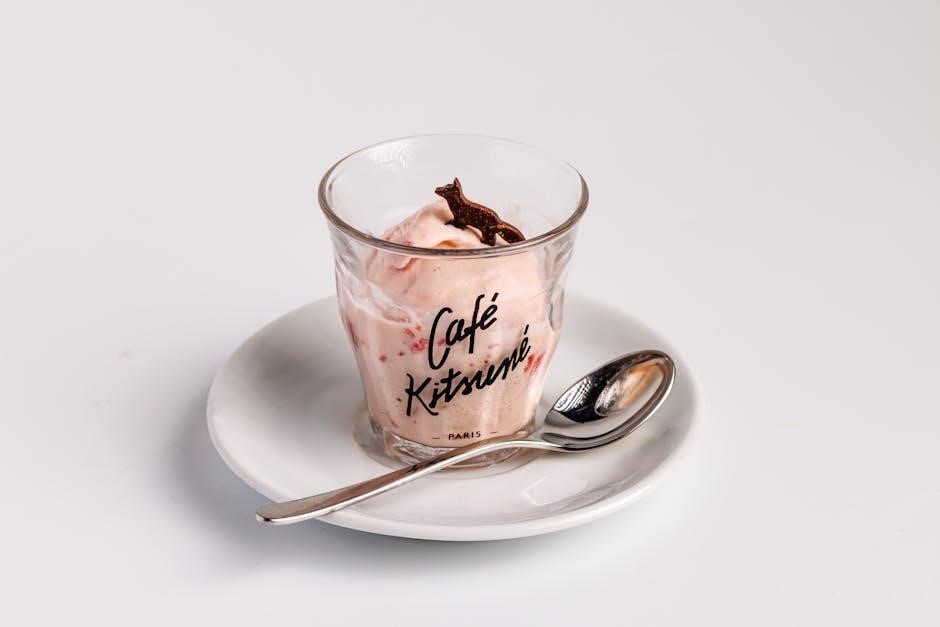
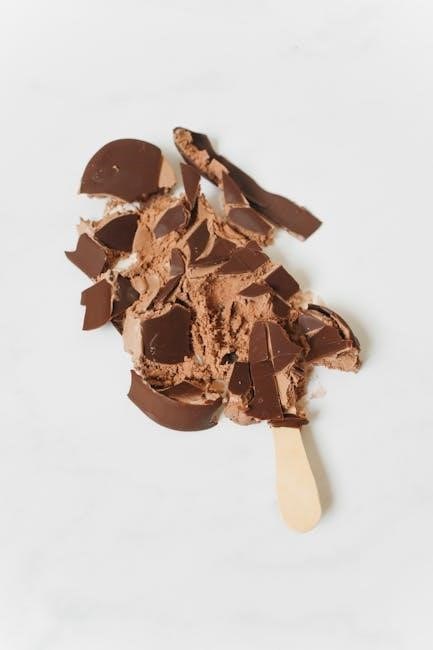
Explore endless flavor possibilities with the Rival Ice Cream Maker. Create classic vanilla, rich chocolate, or fruity sorbets. Customize by adding mix-ins like nuts, candy, or fresh fruit for unique treats. Using fresh ingredients ensures the best taste. Experiment with creative combinations to craft personalized desserts. The machine’s versatility allows for endless creativity, making it a fun tool for both traditional and innovative recipes.
4;1 Basic Ice Cream Recipes
Start with simple, classic recipes to master the Rival Ice Cream Maker. A basic recipe typically includes 2 cups of heavy cream, 1 cup of whole milk, and 1/2 cup of granulated sugar. Add a teaspoon of vanilla extract for flavor. Chill the mixture in the refrigerator for 2 hours before churning. Pour the mixture into the pre-frozen canister, leaving 1/4 space at the top. Churn according to the machine’s instructions until the ice cream reaches your desired consistency. For a creamier texture, ensure the canister is fully frozen beforehand. This foundational recipe can be customized with mix-ins like fresh fruit, nuts, or cocoa powder for endless possibilities.
4.2 Adding Flavors and Mix-Ins
Elevate your homemade ice cream by incorporating unique flavors and mix-ins. Start by adding flavorings like cocoa powder for chocolate ice cream or melted chocolate for a richer taste. For fruit-based flavors, blend fresh or frozen fruit into the batter before churning. Mix-ins such as chopped nuts, candy pieces, or cookie crumbs can be folded into the ice cream during the last 2-3 minutes of churning. Ensure mix-ins are evenly distributed for a consistent texture. Experiment with creative combinations like mint chips, caramel swirls, or toasted coconut flakes to create one-of-a-kind flavors. Remember to chill all additions before incorporating them to maintain the ice cream’s smooth consistency.
4.3 Troubleshooting Recipe Issues
If your ice cream isn’t freezing properly, ensure the canister was pre-frozen for at least 24 hours. Over-churning can lead to ice crystals; stop once the desired consistency is reached. If mix-ins aren’t distributing evenly, fold them in during the last 2-3 minutes of churning. For too soft or too hard ice cream, adjust the freezing time of the batter before churning. Always use fresh ingredients, as stale or low-fat ingredients can affect texture. If flavors are too mild, increase the amount of flavorings gradually. Avoid overloading with mix-ins, as this can disrupt the churning process. Proper measurement and chilling are key to achieving perfect results.

Maintenance and Cleaning
Regularly wash all removable parts with warm soapy water and dry thoroughly. Avoid abrasive cleaners to prevent scratching. Store the canister in a dry place after cleaning to maintain its efficiency and longevity.
5.1 Cleaning the Ice Cream Maker
Cleaning the Rival Ice Cream Maker is essential for maintaining its performance and longevity. After each use, disassemble the parts, including the canister, dasher, and lid, and wash them with warm soapy water. Avoid using abrasive cleaners or scrubbers, as they may damage the surfaces. Rinse thoroughly and dry all components with a clean towel to prevent water spots. For tough residue, soak the parts in warm water before cleaning; Regular cleaning ensures the maker remains hygienic and ready for future use. Additionally, wipe the exterior with a damp cloth to keep it looking new. Proper maintenance prevents bacterial growth and keeps your ice cream fresh and flavorful.
5.2 Storing the Canister and Accessories
Proper storage of the Rival Ice Cream Maker’s canister and accessories is crucial for maintaining their quality and performance. After cleaning, dry all parts thoroughly with a clean towel to prevent moisture buildup. Store the canister in the freezer to keep it ready for future use, ensuring it remains frozen for at least 24 hours before churning. Accessories like the dasher and lid should be kept in a dry, cool place, away from direct sunlight. Avoid stacking heavy objects on the canister to prevent damage. Regularly inspecting the parts for wear and tear ensures longevity. Always refer to the instruction manual for specific storage recommendations to maintain the product’s condition and warranty.

Safety Precautions
Always read instructions carefully before use to ensure safe operation. Avoid exposing electrical parts to water and never attempt repairs yourself, as this voids the warranty.
6.1 Electrical Safety Guidelines
To ensure safe operation, always read the instruction manual thoroughly before using the Rival Ice Cream Maker. Keep the electrical cord and plug away from water or moisture. Never submerge the motor or any electrical components in liquid. Avoid touching electrical parts with wet hands. Do not attempt to repair or adjust the machine yourself, as this can cause electrical hazards and void the warranty. Always operate the device on a stable, dry surface. For additional safety, unplug the machine when not in use or during cleaning. Following these guidelines will help prevent accidents and ensure the longevity of your ice cream maker.
6.2 Avoiding Common Mistakes
To ensure optimal performance and safety, avoid common mistakes when using the Rival Ice Cream Maker. Never operate the machine without pre-freezing the canister for at least 24 hours, as this is essential for proper freezing. Overfilling the canister beyond the recommended 3/4 capacity can lead to poor churning results. Using low-fat ingredients may result in icy textures, so opt for high-quality, full-fat dairy for creamier ice cream. Additionally, avoid leaving the machine unattended during operation, as monitoring the churning process is crucial. Lastly, always follow the manual’s temperature and timing guidelines to achieve the best results. By avoiding these mistakes, you can enjoy perfectly churned homemade ice cream every time.

Troubleshooting Common Issues
Common issues with the Rival Ice Cream Maker include the canister not freezing properly or the machine not turning on. Ensure the canister is pre-frozen for 24 hours and check power connections. If ice cream isn’t churning, verify the dasher is securely inserted. For icy textures, review ingredient ratios and churning times. Refer to the manual for detailed solutions to address these issues effectively and resume making delicious homemade ice cream.
7.1 Ice Cream Not Freezing Properly
If your Rival Ice Cream Maker isn’t freezing the mixture properly, ensure the canister was pre-frozen for at least 24 hours. A common mistake is insufficient freezing time, which prevents proper churning. Check that the canister is not overfilled, as this can hinder the churning process. Verify that the lid is securely attached and the dasher is correctly positioned. If issues persist, review the power connections and ensure the machine is operating correctly. Proper preparation and adherence to the manual’s guidelines are key to achieving the desired consistency. Always refer to the troubleshooting section in the manual for detailed solutions to address freezing issues effectively;
7.2 Machine Not Turning On
If the Rival Ice Cream Maker fails to turn on, first check the power supply. Ensure the machine is properly plugged into a functioning electrical outlet. Verify that the cord is undamaged and securely connected to both the machine and the power source. If using an extension cord, confirm it is working correctly. Check your circuit breaker or fuse box to ensure no circuits have tripped or blown. Avoid submerging electrical components in water, as this can cause permanent damage. If the issue persists, consult the manual or contact customer support. Never attempt to repair the machine yourself, as this voids the warranty and poses safety risks. Always follow electrical safety guidelines provided in the manual to ensure safe and effective operation.
Warranty and Service Information
The Rival Ice Cream Maker is backed by a limited warranty covering manufacturing defects. For service, contact customer support via phone or email for assistance. Ensure to register your product for warranty validation and follow the provided instructions for repairs or replacements. Maintain your receipt as proof of purchase, as it may be required for warranty claims. Always refer to the manual for specific warranty details and contact information to ensure seamless support.
8.1 Understanding the Warranty
The Rival Ice Cream Maker is protected by a limited warranty that covers manufacturing defects for a specified period, typically one year from the date of purchase. This warranty ensures that any faulty parts or issues arising from defective materials or workmanship will be repaired or replaced free of charge. To validate the warranty, users must register their product and retain the purchase receipt as proof of ownership. Exclusions apply for damages caused by misuse, improper maintenance, or unauthorized repairs. For detailed warranty terms, refer to the provided manual or contact Rival’s customer support directly. Proper adherence to warranty guidelines ensures seamless protection for your appliance.
8.2 Contacting Customer Support
For assistance with your Rival Ice Cream Maker, contact customer support through the official Rival Products website or by calling their dedicated helpline. Ensure you have your product serial number and purchase details ready for efficient service. Visit www.rivalproducts.com for contact information, troubleshooting guides, and downloadable manuals. Representatives are available to address concerns, provide repair options, or clarify warranty details. For quicker resolution, review the manual or FAQs before reaching out. Timely support ensures your ice cream maker operates smoothly, helping you create delicious treats without interruption.
Additional Tips for Best Results
Use fresh, high-quality ingredients for optimal flavor. Experiment with unique mix-ins like fresh fruits or nuts. Store the canister properly after cleaning for longevity. Always pre-freeze the bowl.
9.1 Using Fresh Ingredients
Using fresh ingredients is crucial for achieving the best flavor and texture in your homemade ice cream. Fresh cream, milk, and flavorings ensure a richer, more vibrant taste. Avoid processed or expired ingredients, as they can affect the quality of your final product. For example, using real vanilla beans instead of extract or farm-fresh eggs can elevate your recipes. Additionally, fresh fruits or mix-ins like nuts or cocoa should be added at the right time during the churning process to maintain their texture and flavor. Always check expiration dates and store ingredients properly before use to guarantee freshness and safety.
9.2 Experimenting with New Flavors
Experimenting with new flavors is one of the most exciting aspects of using the Rival Ice Cream Maker. Try unique combinations like matcha, lavender, or caramel to create distinctive tastes. Incorporate fresh fruits, nuts, or cocoa for added texture and flavor. For adventurous recipes, consider infusing spirits or spices, but ensure they complement the base ingredients. When adding mix-ins, fold them in during the last few minutes of churning to preserve their texture. Don’t hesitate to blend unexpected ingredients, as homemade ice cream allows for endless creativity. Remember to taste and adjust flavors before freezing for the best results. This flexibility makes the Rival Ice Cream Maker perfect for culinary exploration.
The Rival Ice Cream Maker offers a satisfying way to create homemade ice cream with ease. Its simplicity and effectiveness make it a delightful addition to any kitchen, encouraging endless experimentation with new recipes and flavors. Enjoy crafting personalized treats for years to come!
10.1 Final Thoughts on Using the Rival Ice Cream Maker
Using the Rival Ice Cream Maker is a delightful experience, offering a perfect blend of simplicity and efficiency. Its user-friendly design ensures that both beginners and experienced users can craft creamy, customizable ice cream with ease. Pre-freezing the canister and following the step-by-step guide guarantees smooth operation and delicious results. The machine’s durability and easy cleanup add to its appeal, making it a worthwhile investment for homemade treats. With the support of comprehensive manuals and customer service, users can confidently experiment with new recipes and flavors. The Rival Ice Cream Maker truly brings the joy of creating personalized desserts right to your kitchen!
10.2 Encouragement to Try New Recipes
Don’t be afraid to experiment with new and exciting recipes using your Rival Ice Cream Maker! From classic vanilla to unique flavor combinations like matcha or strawberry-balsamic, the possibilities are endless. Mix-ins such as nuts, candy pieces, or fresh fruit can elevate your creations. For a creamier texture, try adding a stabilizer like cornstarch or tapioca flour. Remember, the key to success lies in using fresh, high-quality ingredients. Encourage family and friends to share their favorite flavors, turning ice cream making into a fun, collaborative experience. With the Rival Ice Cream Maker, every batch is an opportunity to create something truly special and deliciously personalized!
About the Author
Meet the author, an expert in ice cream making with extensive experience using Rival products. Passionate about sharing knowledge, their hands-on approach ensures delicious results every time for over 15 years.
11.1 Expertise in Ice Cream Making
The author brings over 15 years of experience in crafting exceptional ice cream, specializing in Rival products. With a deep understanding of ingredients and techniques, they simplify complex processes, ensuring everyone can create perfect ice cream. Their expertise spans traditional to innovative recipes, emphasizing the importance of proper churning and ingredient balance. By sharing tips and troubleshooting common issues, the author empowers users to achieve professional-quality results at home. Their passion for ice cream making is evident in their clear, step-by-step guides, making the Rival Ice Cream Maker accessible to both beginners and experienced enthusiasts alike.
11.2 Experience with Rival Products
The author has extensive hands-on experience with Rival ice cream makers, having used models like the FRRVBK02-BLU and GC8101-WN. They’ve mastered the process of pre-freezing canisters, mixing batter, and churning to perfection. Over the years, they’ve developed practical tips for troubleshooting common issues and optimizing recipes. Their familiarity with Rival’s design and functionality ensures that the guidance provided is both comprehensive and tailored to the machine’s capabilities. By emphasizing the importance of following instructions and using fresh ingredients, the author helps users achieve the best possible results with their Rival Ice Cream Maker.